Tasty Trash: The $55 million Squawkfox Food Waste Challenge is a series aimed at helping your family save up to $1,500 this year by reducing food waste. The environment may also thank us. To start from the beginning, read the introduction.
When your freezer is a time capsule celebrating the Ice Age, then maybe it’s time to join the Modern Age by thawing your deep freeze.
[series_heading]
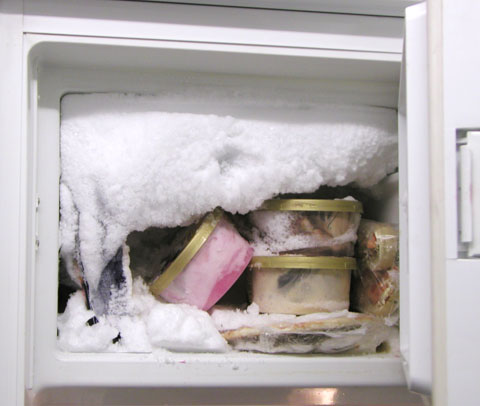
The Ice Age Cometh: It’s time to thaw that frozen mess.
Photo Credit: Conny Liegl (flickr/MoonSoleil)
These Titanic-sized icebergs require a good melting session.
The causes of freezer frost
There are two common reasons ice may be forming in your freezer.
1. Take a peek. Freezer frost grows when moisture from the air condenses on the walls and turns to ice. Every time you open your freezer to take a peek, a blast of humid air sneaks in and builds up a thin layer of frost.
2. Blame the seals. If your freezer turns into a block of the cold stuff quickly, it’s likely your door seal. Cracked, worn, or misaligned freezer seals can let warm air in and cold air out. Yep, this is costing you some cool cash, so check those seals and stop gawking into your open freezer.
The cost of growing glaciers
Your freezer needs to work harder to keep your food cold since ice acts as an insulator. If you’re growing glaciers in parts of your freezer, you’ll use more energy to keep the internal temperature low. Plus, your food may not be stored at a low enough temperature, leading to food waste. According to the USDA, frozen food should be kept below 0ºF (-18ºC) or spoilage can occur.

Hold the ice: There’s no space for food.
Photo Credit: “Bennet” (flickr/bennett4senate)
Where’s the beef? Or frozen veggies, or stored leftovers? A lot of ice buildup can turn your ice box into an ice block, making it impossible to store perishables and access food. Why bother plugging the thing into an energy sucking socket if you’re just using your freezer space to foster frost?
How to defrost your freezer
You can beat the glaciers into a hasty retreat in five easy steps. Here’s how to get ready for the great freezer thaw:
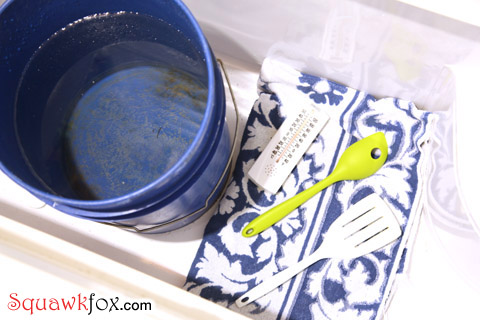
Stuff you need:
- bucket
- hot water
- towels
- vacuum cleaner
- dish soap
- plastic spatula
- freezer thermometer (optional)
Total thaw time: One hour — longer if you’re storing the arctic.
STEP ONE: Free the food. Start by emptying your frost-filled freezer and moving the perishables to another ice box or transferring the goods to a cooler.
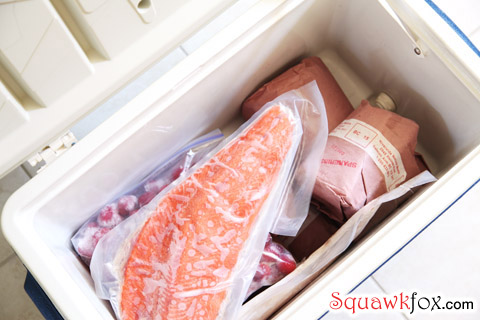
If it’s a cold winter’s day, you can probably store your freezer contents in bins outside — as long as you don’t have any wildlife or hungry neighbors nearby.
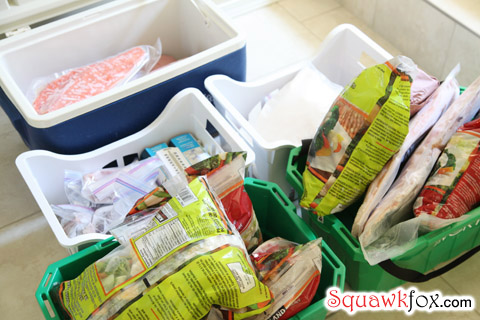
This is a great time to take a detailed inventory of what’s hanging out in your deep freeze. Toss out or compost anything that’s gone bad.
Add all chucked food to your Food Waste Diary (free download)
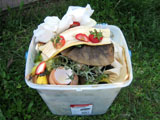
Composting Made Easy
Check out How to compost without raising a stink for the easy-to-follow composting steps.
STEP TWO: Get unplugged. Don’t get into a battle with your freezer by attempting to thaw ice while the machine is trying freeze it. Huge waste of time and energy, people — kinda like running up the down escalator. Unplug your freezer to save yourself from this frustration.
STEP THREE: Thaw the sucker. Place a towel in the bottom of your freezer to collect the water from melting ice.
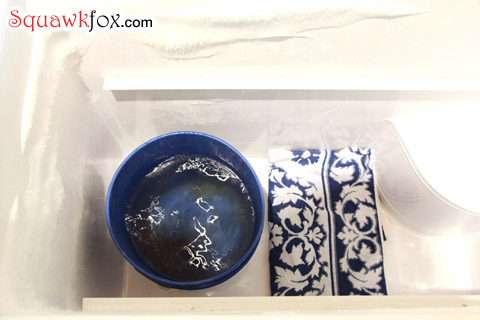
This step is particularly important if your freezer is a front-door-loader and not a chest model, since large amounts of water could drip out the door. Yeah, messy.
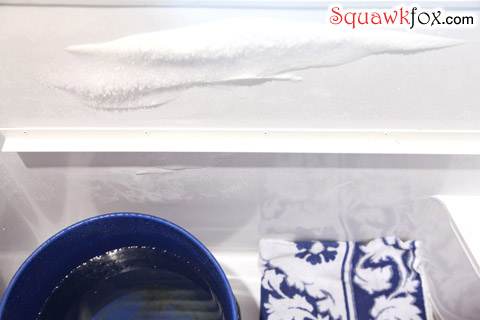
Place a small plastic bucket of hot water in the freezer. Close the door and wait 10 minutes. Repeat a few times. The heat from the water will defrost (or loosen) the ice.
Bonehead Move: Do not use a metal pot with boiling water to defrost your freezer — you might melt the plastic lining, forcing you to replace the dang unit.

Once the ice beings to loosen, go ahead and use a plastic spatula to gently remove the larger chunks.
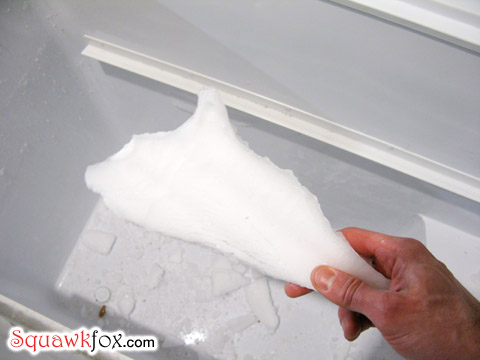
Take care not to damage the freezer lining.
STEP FOUR: Scrub a dub. Place all ice pieces in a bucket and use a towel to mop up any water.
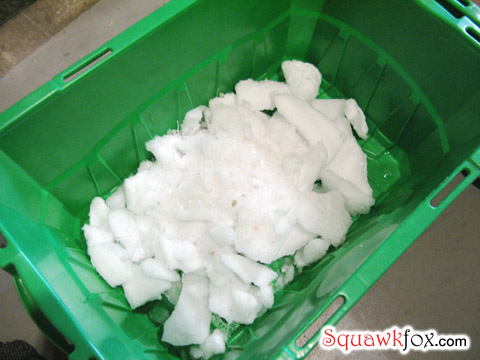
Using warm water and a bit of dish soap, wash and wipe every surface inside the freezer and dry it with a towel. Carefully clean the door seal. Vacuum any dust from coils along the outside and back of the freezer.
Money Saving Tip: Inspect and replace freezer door seals if they’re cracked or fail to close evenly. You’ll need to know the exact make and model of your freezer to order a new seal kit.
STEP FIVE: Lock and load. Plug in your freezer and wait for it to cool down. Once the freezer is cold, reload all the food that passed your freshness test in step one. Don’t forget to list all expired or freezer burnt food in your Food Waste Diary.
Bonehead Move: Don’t load cold food into a warm freezer — you’ll defrost the lot and possibly spoil your perishables. Expensive mistake.
Allow 24 hours for the temperature to stabilize, and then use a freezer thermometer to check the temperature. Most manufacturers recommend freezers be set to 0ºF (-18ºC) or colder to keep food from spoiling.
Make homemade ice cream with leftovers?
After removing the unwanted ice from your freezer, why not stock up on some tasty ice? Click on over to Healthy Snacks: A tasty twist on homemade ice cream for a frugal treat that fights food waste.
Happy thawing!
Love,
Kerry


I use an ice scraper from my car, works great without scratching
Hi, Kerry,
Many times it pays just to REPLACE the old, leaky, electric money sink with a new super-energy efficient model refrigerator.
The Government (U.S.) has a great website http://www.energystar.gov/index.cfm?fuseaction=refrig.calculator that will show how you the numbers over five years by replacing your old refrigerator or freezer with a new ENERGY STAR qualified model!
Kerry, My apologies; would you please edit my last remark. Thank you. -MH
I use a hairdryer to speed up the melting. I don’t know if I can replace the seal, the freezer is 10+ years old.
We empty the freezer (chest type) and put the shop vac on blow and finish the job in 20 minutes, everything back in freezer and finished in 30-35 minutes. Freezer is still cool when finished with the vac.
You’re missing a step. 🙂
After you’ve defrosted the freezer, wipe it over with glycerine/glycerin (wherever the ice forms). Generously enough to form a fine film I guess (I was never exact with this). Close it up and leave it a while before putting things back in it. When you go to defrost it again the ice will come off in sheets with just a gentle nudge of the scraper. It will save you potentially hours of work and frost bitten fingers!!!
If you don’t have it, you will need to buy the glycerine, but the relatively small expense is well worth it in my opinion.
I’ve got a frost free fridge now, so this isn’t an issue for me, but I remember the hours of work defrosting the freezer involved. Not fun!
After I have defrosted and cleaned my freezer. I wipe it over with Vanilla essence
when dry I spray Cook and spray the one you use for fat free cooking.
Give it a good coating it helps remove the next lot of build up.
This method is used in the Time Share where I used to work to save us time in cleaning
You can check the seal of your freezer with a dollar bill. Put the bill between the door and unit and see if you can slip it out easily. Do this in 3 spots, the top, the side, and the bottom. If the seal appears to be in good shape, but still developing a lot of frost, check to see if the unit is level. The door will not close properly if the unit is not level. Use the leveling feet to adjust your unit. If your floor is terribly unlevel, you can actually adjust the door of an upright itself, by taking it off the hinge and adding a plastic washer to the hinge pin. Our kitchen floor was terribly unlevel when we brought in a side by side. The left door hung low by about an inch. We took it off, and added 2 plastic washers to bring that door up to level. It looks good now, and we didn’t have to fix the floor (that was the manufacturer’s suggestion–fix the floor, yeah, right).
[…] also this: “Last but not least, clothing swaps are good for the environment.”3. Defrost your freezer and warm up to cool savings[Squawkfox] You look inside your freezer every day, but when’s the last time you looked at […]
Re: seal on freezer door……..
I recently posted this in the section on fridge care and felt it appropriate to repost here.
“I had to have the rubber seal on my freezer door replaced. It had flattened and stretched in the corner and had splits in the edges. The technician who replaced it advised me to wipe it and the surfaces it touched frequently. He explained the flattened corners cannot be avoided, but the splits were caused by the seal or the surface it touched being sticky. Opening the door caused the seal to stick and be pulled apart. Since then, I wipe the freezer seal, the fridge seal, and the surfaces they touch every week. I don’t want to be spending another $97!”
I’ve been thinking about defrosting my downstairs freezer for some time now!
These detailed steps are definitely going to help. My plan consisted solely of moving the food and unplugging the thing until all the ice melted. I think your method will be much faster!
Hey guys if you put containers of water in your freezer to fill up the spaces it will cycle less often saving money helping to keep contents frozen. I use 3/4 full 2 litre pop bottles because in the summer I put one in my dogs outside water dish to help cool it when it very hot.(dual purpose)
I just moved into a new place and my freezer is WORSE than the first pictures at the top. I don’t have room for buckets to catch water.
I like the scraper and glycerine tips. What else can I do?